How to make self covered piping

January 31, 2018

Adding piping to your seams can add such a special touch. It's worth the extra bit of work as it can make your seams more prominent and beautiful. 

Piping comes in lots of different colors and is usually in a basic cotton fabric, but it looks extra fancy when you create piping covered with self-fabric. Whether your pattern calls for it or not, you can add piping to seams if you want to spruce up the design a little. Here's a tutorial to show you how to cover store-bought piping with self-fabric.


self covered piping on Simone dress


I used it here in the Simone dress because I wanted to add prominence to the seam lines of the front placket. I broke up the monotony of the blue fabric by adding a running stitch in anchor threads to match the piping to integrate the colors.


Materials:

  • Store bought piping
  • Self-fabric
  • Ruler
  • Scissors or rotary cutter
  • thread
  • Regular zipper foot
  • Pins


cutting fabric for self-covered piping


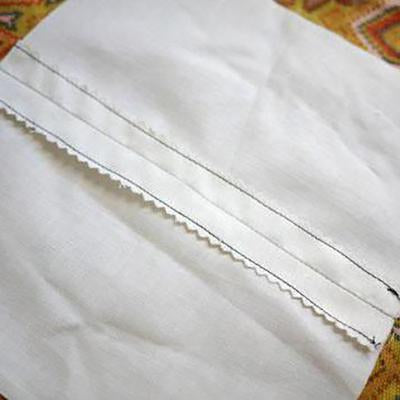
Cut a bias strip of self-fabric, long enough for the length of your piping. Determine the width of the strip by the piping diameter and the garment's seam allowance. If the piping is 1/4 thick, and the seam allowance is 5/8", then calculate: 1/4" + 1/4" + 5/8" + 5/8 = 1 3/4"                                                                                 


offsetting piping strips


If the piping is very long, you may need to cut multiple strips and piece them together. In that case, cut the ends of the strips should at a 45-degree angle. Lay the strips together and offset them by the seam allowance, which should be about 3/8". This way, once you've sewn them together, the edges will be flush.


trimming piping strip seam allowance
Trim off the seam allowance edges.


wrapping fabric strip around piping
Place the piping on the wrong side of the bias strip. Wrap the bias strip around the piping, matching raw edges and pin along the length of the strip.


sewing self-covered piping strip


To sew close to the piping, use a regular zipper foot with the needle set to the right side. Sew along the length of the strip.


piping covered with self-fabric

Voila, you can now use it wherever you like!


Store Bought Decorative Cord Piping


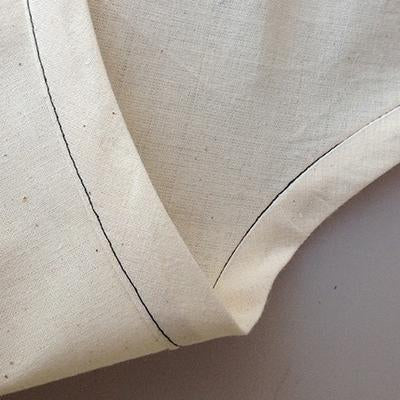
But we're not done yet! You can also purchase decorative cording that has seam allowance


Decorative Cord Piping
You'll often find the cording seam allowance won't match that of your garment.


sewing decorative cord onto the garment


To get around this, on the garment, draw a chalk representing the sew-line. This is where the cording will be sewn. Place the cord along the chalk line, and using a regular zipper foot, staystitch the cord in place
                                                                                                                                                                               

decorative cord piping sewn onto garment piece

It will be correctly positioned for when you sew the adjoining garment pieces together


YOU MAY LIKE:


Leave a comment

Comments will be approved before showing up.


Also in Sewing Tutorials

How to stitch in the ditch

January 31, 2018 1 Comment

When it comes time to finish the inside edges of a garment, such as the inner edge of a waistband, cuff, collar, binding, etc, you can choose to secure the edge with a hand stitch or a machine stitch technique known as stitching in the ditch. This tidy stitch is fast compared to a hand sewn slip stitch and can save you a good bit of time.

View full article →

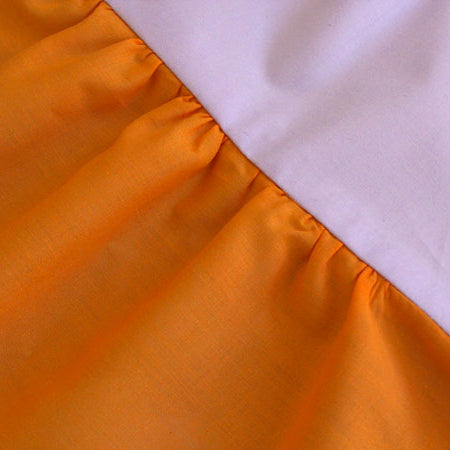
How to gather fabric

January 31, 2018

In this tutorial, you’ll learn how to sew a gather stitch, how to take up the gathers and finally, how to attach the gathered edge to a corresponding piece. This gathering method explains how to sew a gather stitch with three rows of basting, which is suitable for larger gathered edges or for full gathers. This tutorial is taken from the pages of Boundless Style. You can find this tutorial and many others in Boundless Style.

View full article →

Fancy Seams tutorial

January 31, 2018 1 Comment

The type of seam that choose to sew can not only make a garment look beautiful from the inside out, but they can also enhance the life of a garment, as well as your pride in what you've made. This little guide will give you a basic rundown on a few seam finishes starting with the basics, and then we'll get into the fancy stuff! I'll give you some pointers as to when to use each seam finish. When you make clothing with beautiful seams, you'll be so much happier wearing it!

View full article →