How to sew an Understitch

January 31, 2018

If you've ever sewn a pocket bag or a neckline facing and you find that the inside parts keep peeking out, trying to steal the spotlight from your beautiful the garment, it's likely because you haven't sewn an understitch along the seam of the finished edge. An understitch is used along edges where you have inner linings or facings that you want to remain concealed on the inside of the garment. This stitch that will help all those inner parts to stay put, leaving you with crispy clean finished edges! 

This demo illustrates the stitch with a neckline facing, but you can follow these steps for any other instance where the stitch is required. Here's how you do it...
                                                                                                                                                                               

facing sewn along a neckline

Begin by sewing the facing to the neck of your garment at the seam allowance indicated in the pattern.
                                                                                                                                                                               

Clip the neckline

If the seam is curved, clip the seam allowance perpendicular to the edge of the fabric, making sure not to clip the stitch line.

Press the entire seam allowance towards the facing. You may press the seam allowance while looking at the wrong side, but be sure to press from the right side as well to ensure that the seam is pressed open.


Sewing the understitch onto the facing
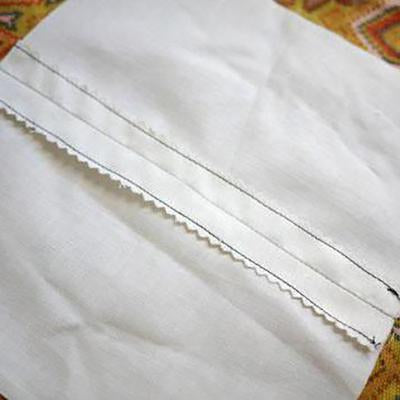
Stitch a line along the facing, on the right side of the fabric, 1/8” away from the seam. You should be catching the seam allowance (underneath) as well as the facing. Be sure to continuously check the seam allowance while sewing, to confirm that it is sitting in the right direction.


The understitched facing

Press the facing and body of garment flat, as demonstrated in the picture.


The understitched facing

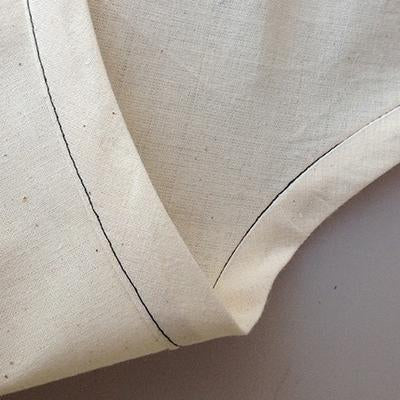
Then, fold the facing over to the inside of the garment (so that it appears like how it would be worn), and press along the finished edge. Pressing from the right side of the garment will ensure that the facing is not visible from this side.


And there you have it - the under-stitching technique ensures a clean and crisp effect along your finished edge.


YOU MAY LIKE:


Leave a comment

Comments will be approved before showing up.


Also in Sewing Tutorials

How to stitch in the ditch

January 31, 2018 1 Comment

When it comes time to finish the inside edges of a garment, such as the inner edge of a waistband, cuff, collar, binding, etc, you can choose to secure the edge with a hand stitch or a machine stitch technique known as stitching in the ditch. This tidy stitch is fast compared to a hand sewn slip stitch and can save you a good bit of time.

View full article →

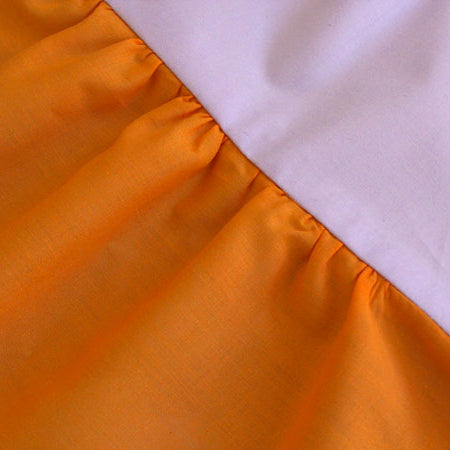
How to gather fabric

January 31, 2018

In this tutorial, you’ll learn how to sew a gather stitch, how to take up the gathers and finally, how to attach the gathered edge to a corresponding piece. This gathering method explains how to sew a gather stitch with three rows of basting, which is suitable for larger gathered edges or for full gathers. This tutorial is taken from the pages of Boundless Style. You can find this tutorial and many others in Boundless Style.

View full article →

Fancy Seams tutorial

January 31, 2018 1 Comment

The type of seam that choose to sew can not only make a garment look beautiful from the inside out, but they can also enhance the life of a garment, as well as your pride in what you've made. This little guide will give you a basic rundown on a few seam finishes starting with the basics, and then we'll get into the fancy stuff! I'll give you some pointers as to when to use each seam finish. When you make clothing with beautiful seams, you'll be so much happier wearing it!

View full article →