Lola Sewalong: Sewing with stretch

Sewing with knits can be daunting. The fabric moves very differently from woven fabric, and the small seam allowances mean that you have to be tuned in when sewing. However, with a little practice, you'll soon find that knits aren't as challenging as you once thought.
The knit recommended for Lola is a heavier knit, and that extra weight makes it easier to work with in comparison to a more lightweight drapey knit
The serger machine makes projects fast, but if you don't have a serger, don't let that stop you; a sewing machine can also be used to sew Lola.
In this post, we'll talk about tips that you can use to get comfortable with serging or sewing knits.
Regardless of which machine you use, there are a few tips that you should know before you get started:
- Use a ballpoint sewing needle. You can also use a stretch needle. However, these are designed more for use with 4-way stretch fabric that has a higher percentage of stretch. The tips of these needles are specially designed to part the knit weave, preventing it from creating runs as you sew.
- A twin needle is used with a sewing machine to mimic the finish that you would get with a cover stitch machine. The result is two lines of straight stitching on the right side for the fabric and a zig zag, formed by the bobbin; This allows the stitch to stretch. I prefer a 1/4" (6 mm) twin needle for hemming knits
Tip: If you don't have a twin needle, you can simply use a zig-zag stitch instead.

- When beginning to sew a seam, hold onto the tail threads underneath the foot as you sew; This will help to feed the fabric through and prevent it from puckering as you being your stitch. Pulling threads as you begin your stitch is generally good practice whenever you're sewing, but is especially helpful with knit and lightweight fabric.


- Pressing knits:
As always, be careful to set the iron to a heat setting that your fabric can tolerate. Many knits have a synthetic fibre, which can melt, so make sure to test your scrap fabric first. You use a damp press cloth or a piece of muslin to cover the pressing area.

OTHER TIPS:
- Do not pull the fabric towards you as you sew, unless a pattern's instructions specifically recommend it.
- If your fabric edge is curling, you can spray it with starch to stabilize the edge. For the stitches that I have suggested using, the stretch is built in. Therefore do not have to stretch as you sew.
- On a sewing machine, you can also use a walking foot attachment, which will help provide an even feed for the fabric.
- Stretching the fabric as you sew can result in wavering seams.
- Pressure foot tension can be adjusted to provide less pressure on knit fabric, therefore preventing it from rippling as you sew. Try changing your tension to 1 or lower and see how it works with your fabric.
SERGER:
If you are using a serger for this project, there will be a few steps in the instructions that call for the use of a sewing machine.
- Set your machine up with four threads. On scrap fabric, test your stitch to ensure that your tension and stitch length are correct and that the differential feed is adjusted for your fabric.
- Tension: On a serger, correct tension on the looper threads will mean that the connection of these two threads form at the very edge of the fabric.
- Tension for the two needle threads, the connection of these threads should be nestled within the fabric, as they are with a regular sewing machine.

- Differential Feed: The differential feed will affect how the fabric moved through the machine. Fabric with different densities or percentages of stretch will require a different setting. You are aiming for your fabric to lay flat when after being serged, not bunched up, or stretched out from the stitch. If your fabric is wavering, your differential feed is likely too low. If it is puckering, it is probably too high. Adjust your differential feed until your fabric is laying flat.
- Stitch Length: In the image below, the top example is an ideal stitch length for a serger. The image below shows a stitch length that is too short, resulting in too many stitches along the seam.

- Seam allowance: The seam allowance for Lola is 3/8" (1 cm). Sergers have a stitch anywhere between 1/4" (6 mm) and 3/8" (1 cm). It's wise to check the width of your stitch on your serger, so that you're away of where the edge of your fabric should align on your machine. It's perfectly fine if you end up trimming off 1/8" off the edge when serging, but let's start with knowing where the ideal place to align our fabric is.
- My serger creates a 1/4" (6mm) width stitch. I can align my fabric just past the blade; This will trim off a slight amount of fabric, neatening my seam as a serge. If it helps you, you can use a piece of washi tape as a guide, but on my machine, I use the edge of my serger platform as my guide.


SEWING MACHINE:
A regular sewing machine can sew beautifully on knits. Each machine model is different and comes with its array of stitches. Since some machines as more basic than others, I've kept the stitch setting for this machine simple so that it is accessible to everyone.
A piece of washi tape can be aligned to this mark the 3/8" (1 cm) seam allowance on the guide plate for clarity.

Stitch settings:
For each machine stitch setting below, I've suggested the width and length settings; however, each fabric and machine may call for a different setting. Before sewing your project, test each one out to see how it performs with your fabric, and adjust the settings as needed.
Stretch Stitch:
This stitch is designed specifically for stretch fabrics. It looks similar to a zig-zag, but there is more reinforcing on the stitches, creating a stronger stitch that's less likely to break when the fabric is stretched.
One disadvantage of this stitch is that it's very difficult to unpick. If you make a mistake or need a fit adjustment, stitch ripping will be tricky, so if using it, you may want to baste first. Do not pull the fabric as you sew.
Setting: Stretch stitch
Stitch Length: 2.5 mm
Stitch Width: 1 mm


When using this stitch, I like to finish the edge of the fabric with a regular zig-zag stitch. For this, change the stitch to a regular zig zag with the following settings.
Length: 2.5mm
Width: 4 mm

NARROW ZIG- ZAG:
A regular zig-zag stitch can also stretch with the fabric. For sewing knit fabric, the width is set to a narrow setting (1.5 mm), and the stitch length is a bit shorter than your regular length (2.2 mm). Test the stitch on your scrap fabric before sewing. Do not pull the fabric as you sew.
Stitch setting: Regular zig-zag
Stitch Length: 2.2 mm
Width: 1.5 mm


Once again, I like to finish the edge of the fabric with a regular zig-zag stitch. I change my stitch settings to:
Length: 2.5mm
Width: 4 mm

TWIN NEEDLE SET UP:
Setting up and threading the machine for a twin needle is a little bit different that when threading the machine for a single needle. Let's go over it.
It is best to use two top spools when sewing with a twin needle. But in the event that you're using thread from your stash and don't have two spools of the same colour, here's a little trick. You can wind a second bobbin with thread and use it in place of your second spool.

Another snag you may run into is if your machine doesn't have a second spool holder. Mine only has one, so I place both my bobbin and thread spool on the single spool holder. The thread trick mentioned above also comes in handy if this spool limitation applies to you because you'll be able to fit a bobbin and a spool on one holder.

Take the two threads in your hand, keeping them separate as you thread the machine. As you thread, do not allow the threads to cross over; keep the left thread on the left and the right thread on the right.

Now, here's the important part: Your tension disk has a plate that needs to divide these two threads. Make sure the left thread goes to the left of the plate, and the right thread goes to the right of the plate.

Continue to keep the left and right thread separated after the tension disk is threaded.

My machine has two thread guides above the needle, so I keep the threads separated here. If your machine has only one thread guide, no problem, keep the left and right thread to either side.

Thread the left and right needle with their respective threads.

Next, make sure that your needle position is set to the middle.
Use a regular zig-zag foot; This is important because the hold where the needle passes through must be wide enough to accommodate two needles.
Set your machine to straight stitch. I once forgot that I had my machine set to zig-zag, and I broke my twin needle on the first stitch because it hit my foot. Yikes!

Ok, you're all set to sew with the twin needle. You may want to practice sewing before we get started.
When sewing with the twin needle, you sew on the right side of the garment. Two straight lines will be sewn on this side, and on the underside, a zig-zag stitch will form.
(the edge of this fabric is finished with a serge stitch)

And that just about covers it for getting set up for sewing with stretch! Once you're feeling comfortable with sewing with knits, we'll be ready to start the dress.
Next Post:
Join us on Tuesday, November 26th for the next part of the sewalong where we get started on the construction of the dress!
YOU MAY ALSO LIKE:

Leave a comment
Comments will be approved before showing up.
Also in The Victory Patterns Blog
Pair the Sofia Bell Sleeve Strap with any sleeve option
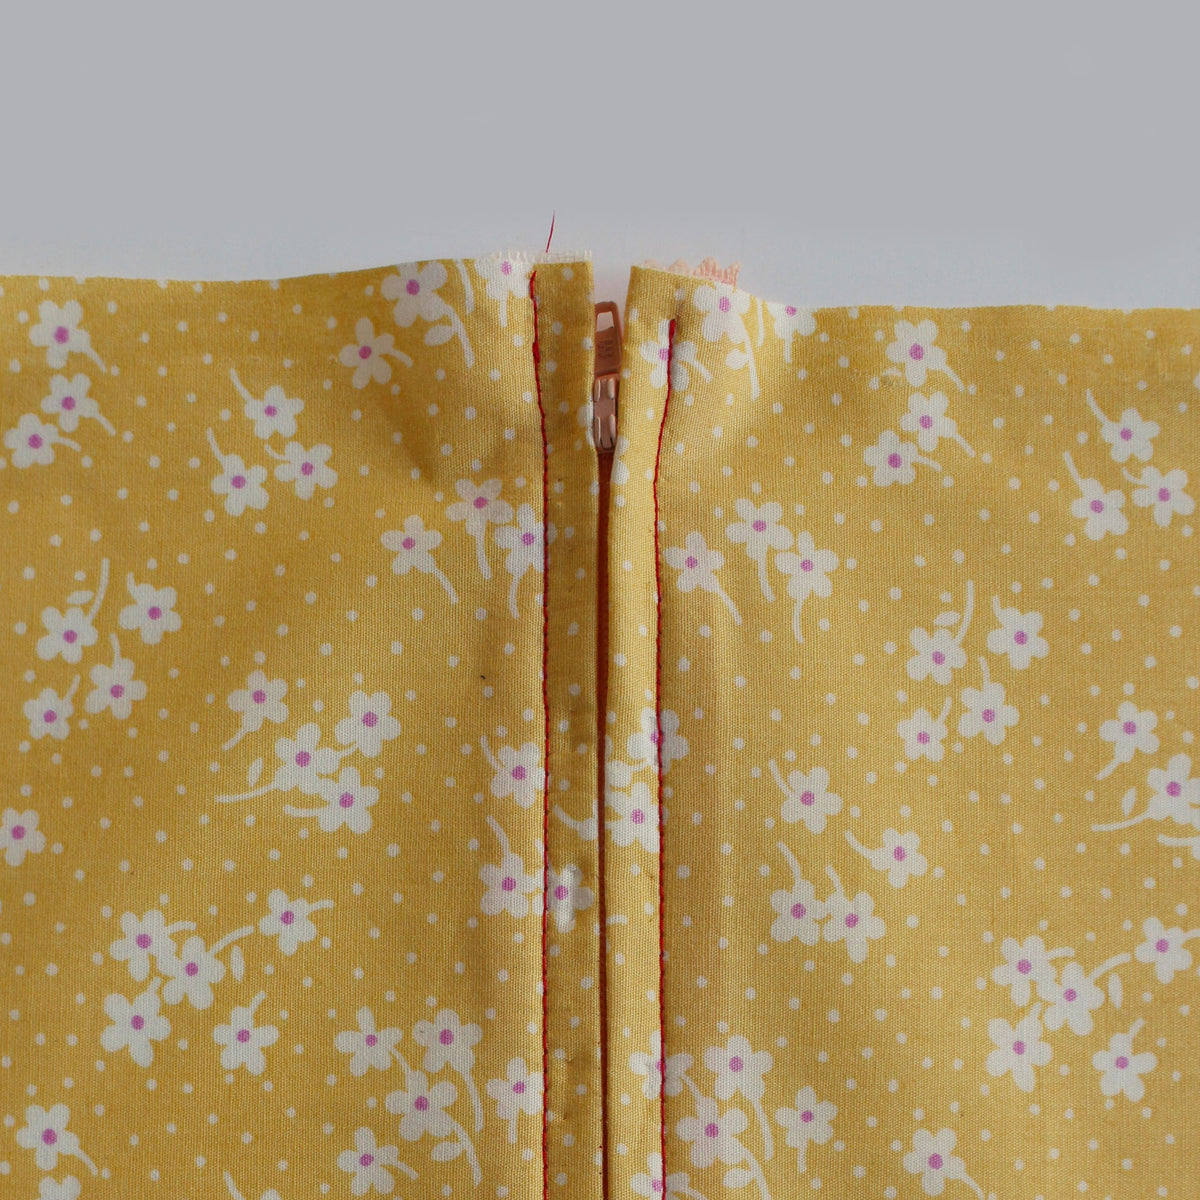
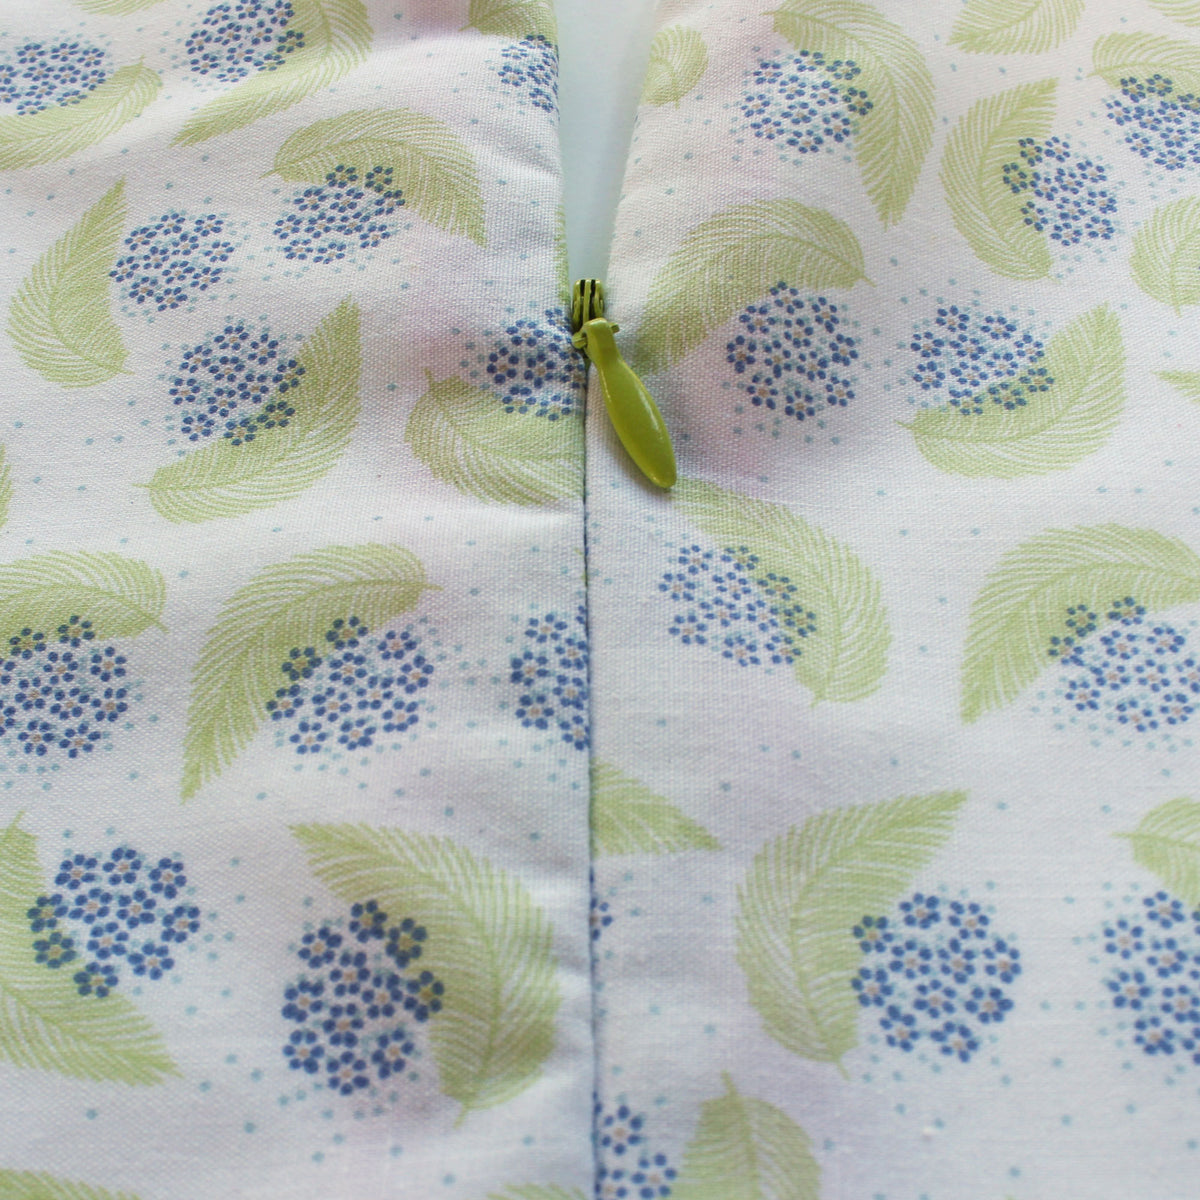
How to sew a centered zipper
A centered zipper is one of the most usefull zippers to be able to sew. They are commonly used in skirts, dresses, and pants, as well as cushion covers and handbags. In this tutorial, we'll show you how to sew a centered zipper using directional sewing, which avoids the fabric from shifting in different directions once the zipper is sewn in.